Question
How to install the Plesk license?
Answer
To install the Plesk license, use your activation code - a combination of numbers and letters XXXXXX-XXXXXX-XXXXXX-XXXXXX-XXXXXX.
Go to Tools & Settings > License Information (License Management in previous Plesk versions) > click Install Key.
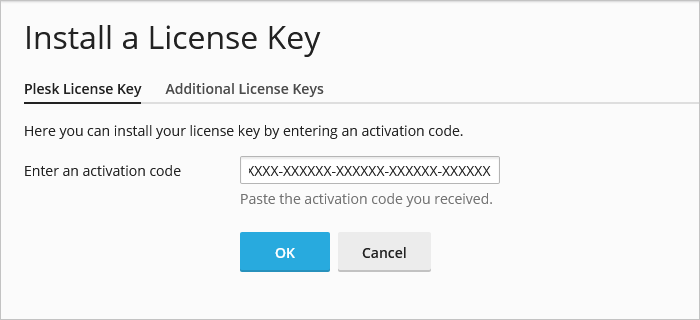
Note: To install an additional purchased license, click the Retrieve Keys button. If the purchased license was not retrieved, switch to the Additional License Keys tab and click the Install key button to install it manually.
Enter your Plesk activation code and click OK.
By default, license file upload is disabled in Plesk Onyx 17.8 and later versions. If you need the ability to install Plesk license keys and additional license keys by uploading a license key file, see this documentation page to enable it.
Once Plesk license file upload is activated:
Go to Tools & Settings > License Information (or License Management) > click Install Key.
Choose Upload a license key file.
Click Browse... and specify the path to a .zip key file. Click OK.
Connect to a Plesk server via SSH (Linux) / RDP (Windows Server).
Use the command below (on Windows Server, start a command prompt as an administrator):
To install a license using an activation code
plesk bin license --install XXXXXX-XXXXXX-XXXXXX-XXXXXX-XXXXXX
To install a license using a license key file
plesk bin license --install /path/to/PLSK.XXXXXXXX.XXXX.xml