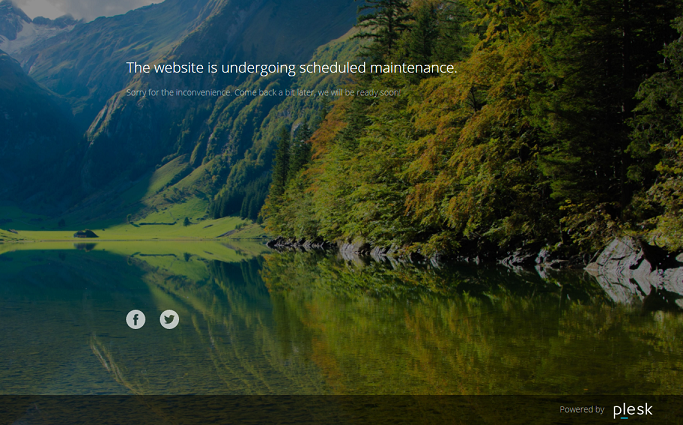
When a WordPress website enters maintenance mode, the website’s content
is hidden from visitors without being changed or otherwise affected.
Visitors accessing your website when it is in maintenance mode see a
maintenance screen webpage instead of the website content.

Turning on the maintenance mode
Your WordPress website enters maintenance mode automatically when you
are:
- Upgrading your WordPress installation.
- Copying data from one WordPress installation to another.
If you are making changes to your website and want to temporarily hide
it from visitors, you can manually put it into maintenance mode.
To put a WordPress website into maintenance mode:
-
Go to WordPress and choose the WordPress installation you want to put
into maintenance mode. -
Turn on “Maintenance mode” on the installation card.

To take your website out of maintenance mode, turn off “Maintenance
mode”.
Customizing the maintenance page
With WP Toolkit, you can change certain attributes of the
maintenance page to make it more informative. For example you can:
- Change the text displayed on the maintenance page.
- Add a countdown timer.
- Provide or remove links to social network pages.
To customize the maintenance page:
-
Go to WordPress, choose the WordPress installation whose maintenance
page you want to customize, and then click the icon next to
“Maintenance mode” on the installation card. -
In the “Screen Text” section, you can change the text displayed.
Use HTML tags to format the text’s appearance. -
…