Deploy from a new branch
It is a normal practice to work with several branches in one repository.
Only one branch can be active at one time. By default, the master
branch is used for deployment.
To add one more branch, you have to create it in your local repository.
For example, you can add the dev branch using the commands:
git branch dev
git checkout dev
Then commit the files to this branch and push to the server’s
repository, using the commands:
git commit -m "changes to branch"
git push -u origin dev
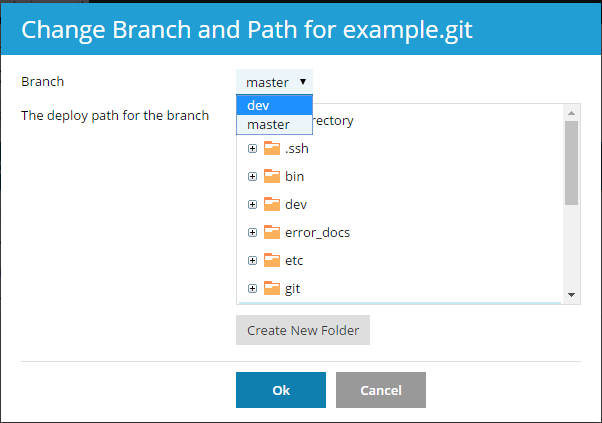
Now you can select one of two active branches. Go to Websites &
Domains > Git, click the Change branch and path link, and in
the opened window select the branch name in the Branch menu.
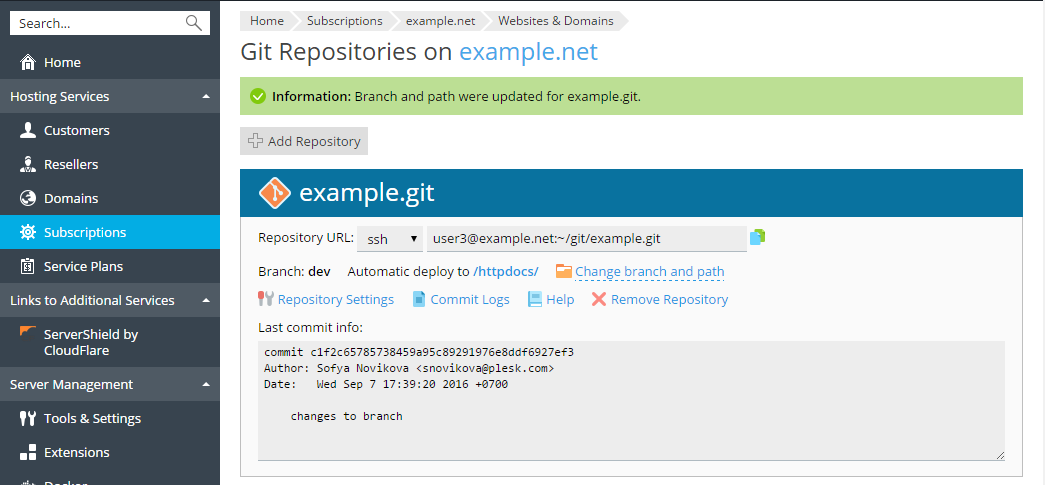
If you select a new branch and click OK, Plesk will display the new
active branch.
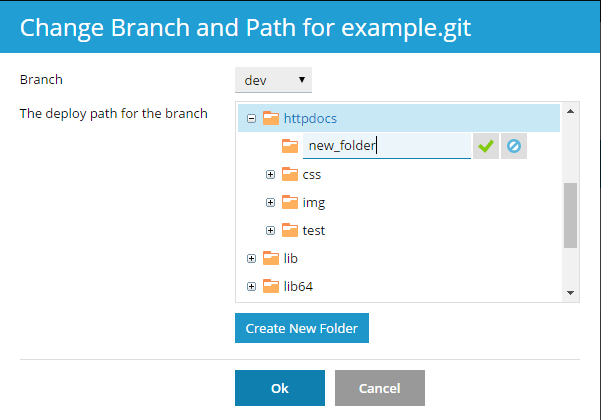
Change the deployment path
By default, the /httpdocs directory is used for publishing Git files
on your website. If you want to change the deployment path, click the
Change branch and path link, and in the opened window select the new
directory. You can also create a new directory by clicking the Create
New Folder button.