If you need to run scripts on your hosting account at a specific time,
use the task scheduler in Plesk to make the system automatically run the
scripts for you.
To see all scheduled tasks created for a subscription, go to Websites
& Domains > Scheduled Tasks.

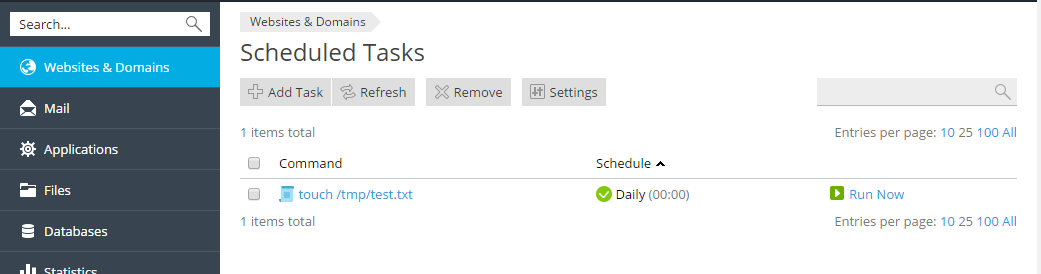
For every task in the list you can change the settings of the task (by
clicking on the task’s name), activate it by clicking the
![]()
![]()

To create a scheduled task, go to Websites & Domains > Scheduled
Tasks > Add Task.


First, you need to select the task type, depending on your purpose:
-
Command. Specify the full path to the executable file to be run.
This includes binary files, shell scripts, and batch files. -
Fetch a URL. Specify the URL only; there is no need to type the
command, such as “curl” or “wget”. -
Run a PHP script. Specify the path to the script relative to your
virtual host directory. You can click the
quickly locate the script file.

Note: In Plesk for Linux all “Run a command” scheduled tasks by default are
run in a chrooted environment. The home directory of a subscription’s
system user is treated as the file system root for that subscription,
and no executable files outside the chroot jail can be run. If you
are encountering “file not found” errors during the execution of your
scheduled tasks, try using paths relative to the system user’s home
directory, and not absolute ones. If you need the ability to run
executable files located outside the chroot jail, contact your
hosting provider.
Next, select how often the task will run, and set the desired time and
date. By default the time is in the server time zone; if you need to
select a different time zone, go to Websites & Domains tab >
Scheduled Tasks > Settings. You can also set a description for
the task, and configure notifications.
Finally, before saving the task, you have the option to do a test run to
make sure that the task is configured correctly. Click Run Now and
wait for the task to finish. If the task finishes with an error, it will
also fail to work when executed by the scheduler, unless you find and
resolve the issue first.