Question
How to add a Plesk email account in Outlook?
Answer
Note: in Plesk Obsidian mail autodiscovery has been implemented.
Outlook 2016:
-
If Plesk Premium Email is not installed in Extensions first enable Autodiscovery and then configure Outlook as follows: Access from Microsoft Office Outlook 2016
-
If Plesk Premium Email is installed in Extensions configure Outlook as described below:
-
Plesk Premium Email can be installed in the Extensions sections in Plesk: How to manage Plesk extensions (install, disable, remove, update)
-
Open Microsoft Office Outlook.
-
Go to File > Add Account.
-
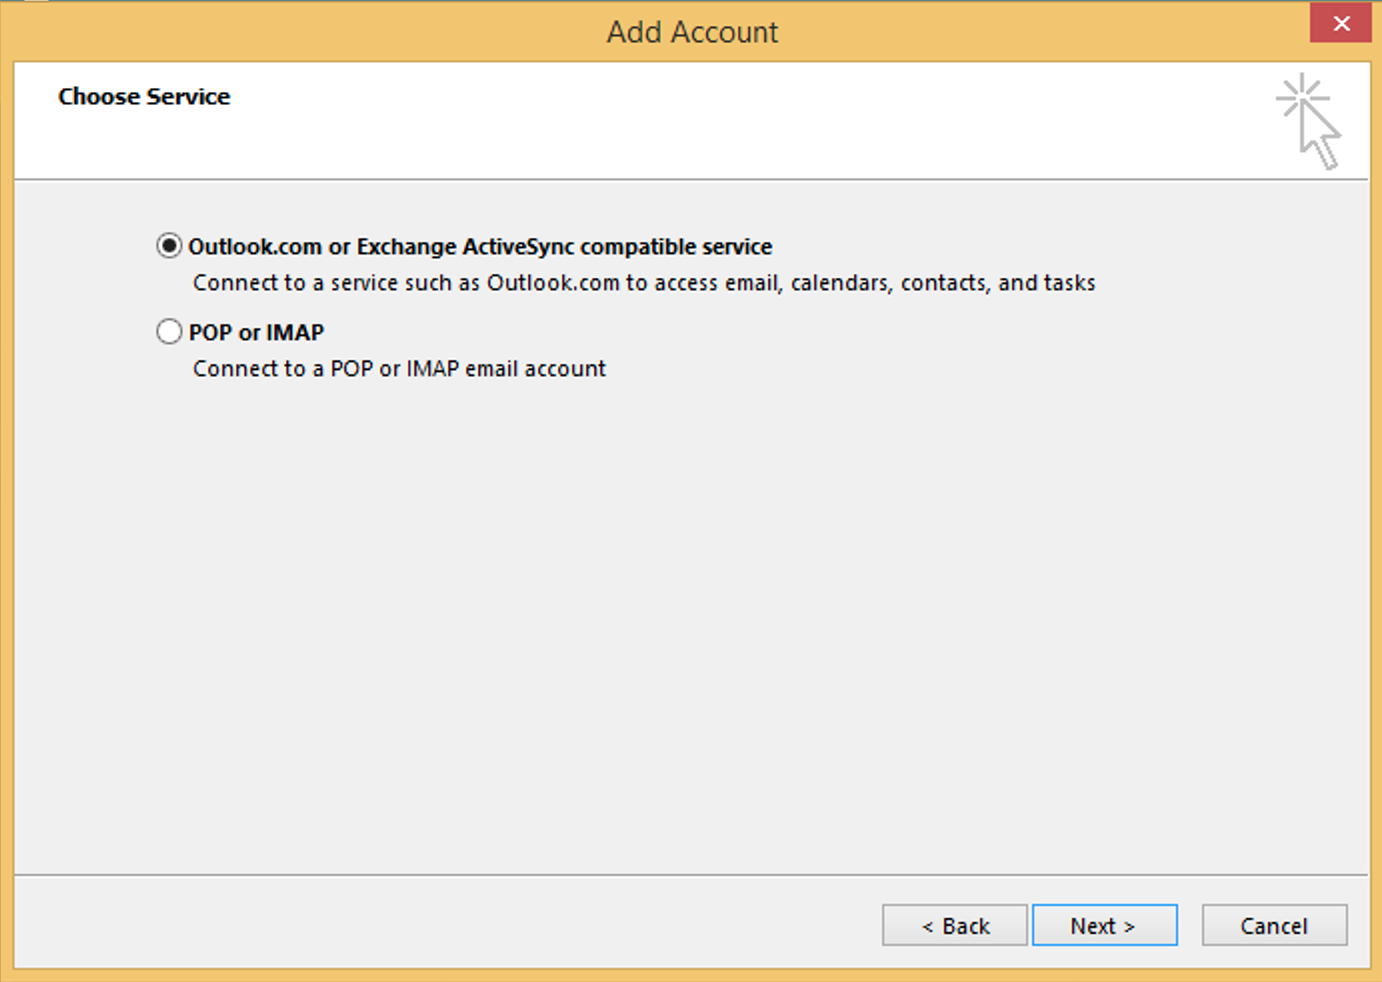
Select the “Outlook.com or Exchange ActiveSync compatible service” option and then click Next.

-
Specify the following:
-
Your name.
-
Your email address.
-
Mail server. Type your domain name. For example, example.com.
-
User Name. Specify your full email address. Example: [email protected].
-
Password. This password probably coincides with the password you use for logging in to Plesk.
-
-
Click Next.
-
If a secure connection is needed refer to step 3 in How to configure a secure connection when setting up a Plesk email account in email client
-
Click Finish.
Once the setup is finished, Microsoft Office Outlook will send you a test email.
-
Outlook 2019:
-
If Plesk Premium Email is not installed in Extensions first enable Autodiscovery and then configure it as follows: Access from Microsoft Office Outlook 2019
-
If Plesk Premium Email is installed in Extensions configure Outlook as follows: Access from Microsoft Office Outlook 2019
Note: Plesk Premium Email has its own autodiscovery mechanism. There is no need to enable it in Tools & Settings > Mail Server settings.
Note: How to configure a secure connection when setting up an account in email client


