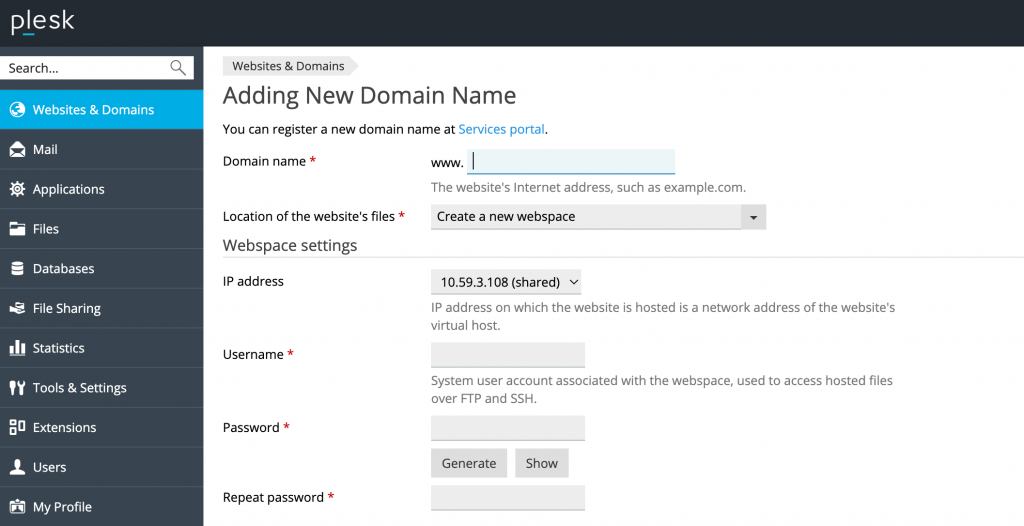
New website creation workflow
Challenge: How can I create a new website or add my own website in Plesk?
Despite the seeming simplicity, the previous website creation UX had a major flaw. It hid all the options that Plesk offered when creating a new website.
Specific situation: one of our partners told us that four out of five new clients they get migrate existing websites from different web hosting services to Plesk. Plesk comes with the ‘Site Import’ tool for just such a job. However, the partner didn’t know about it and therefore chose to use a third-party solution.
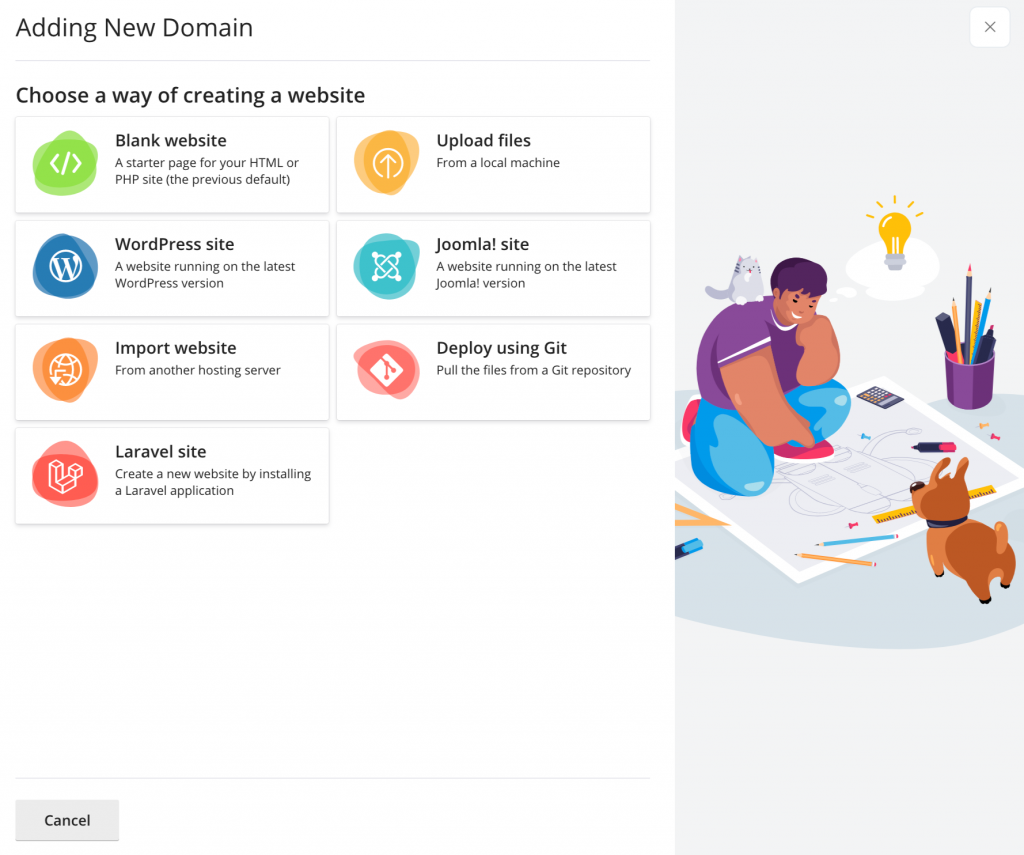
Many other cool Plesk features fared no better in terms of discoverability. New customers did not know that they could upload content easily with the File Manager, pull files from a Git repository, or use our Toolkits (for WordPress, Joomla!, Laravel) to create and manage websites within the snap of a finger.
Thus, our main goal was to clearly show the customers all available options, and make it so that right after website creation they could easily select the desired functionality and thus hit the ground running. The available options depend on the installed extensions, and their visibility can be controlled via the panel.ini configuration file. I will talk about this in more detail later in this article.
Challenge: What if I don't have a registered domain name?
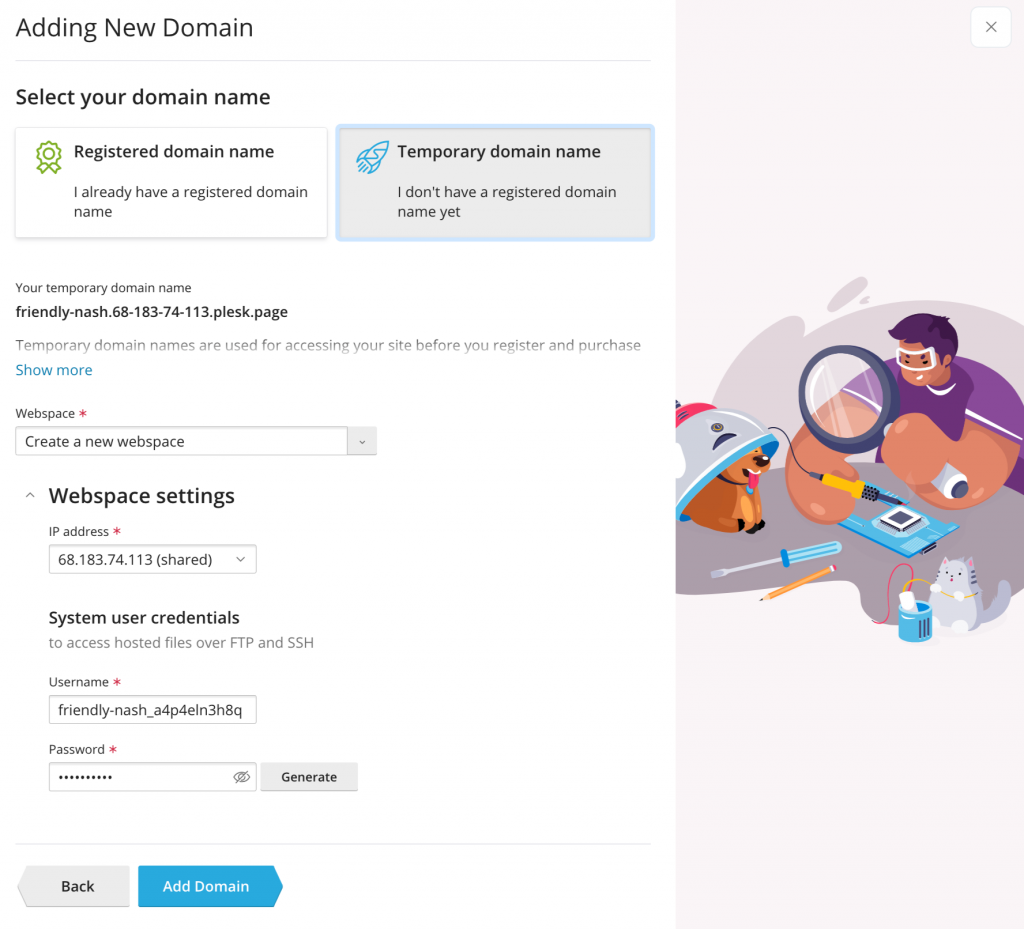
So, the next screen is similar to the old one, just waaay better.
First, I need to type in the domain name of my website. But what if I don’t have a domain name yet? Where can I get one? What if a domain name isn’t important to me at this stage? Can I continue and assign one later? What if I want to quickly show a potential client that my hosting environment can host a Laravel website?
The answer is: “Use a temporary domain name, courtesy of Plesk“.
Plesk automatically generates a free domain name in the .plesk.page DNS zone you can use as a placeholder. We handle all the icky technical stuff like DNS resolving so that you can get on with your work. On top of that, your temporary domain name uses HSTS and is automatically secured by a free SSL certificate from Let’s Encrypt. Your website becomes available on the web right from the get-go, no waiting time needed!
One more important note: previously, you had to enter all required credentials by hand before a website could be created. To speed things up, Plesk now pre-generates system users’ credentials. You can see what they are or change them at any time – just click ‘Connection Info’ on the domain card.
As I haven’t registered my own domain name yet, I choose the temporary domain and click ‘Add Domain’.
Challenge: What's going on behind the scenes? What does Plesk do for me?
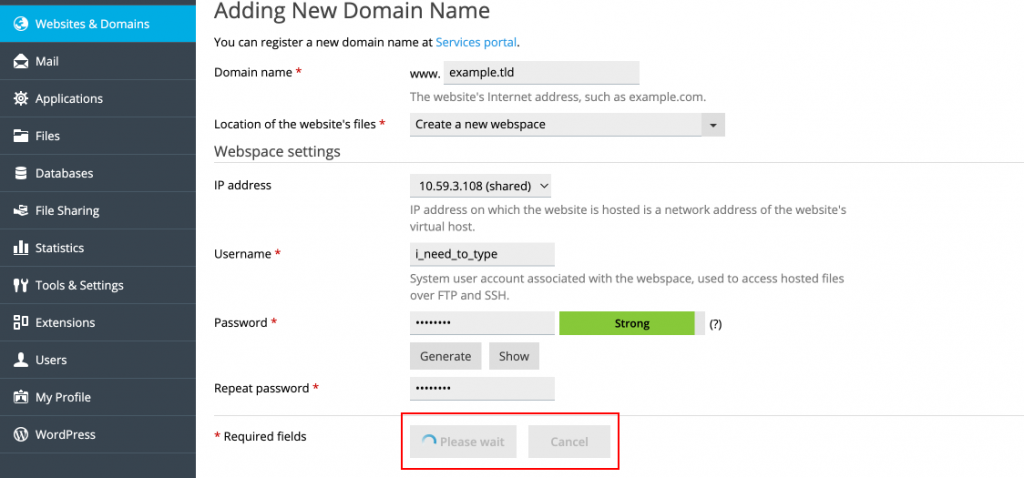
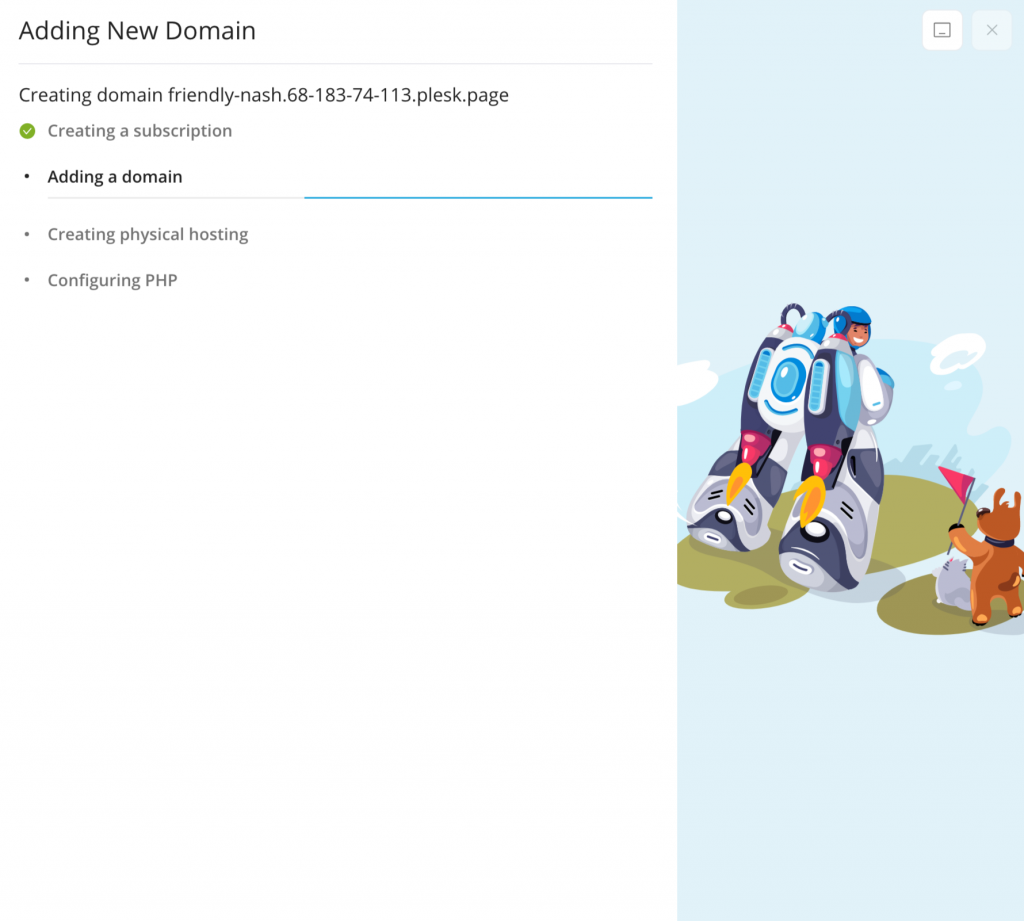
Who doesn’t like staring at spinning activity indicators? Well, everyone, actually.
So, now we give you a glimpse backstage by adding concrete steps with progress bars:
Challenge: What should I do next?
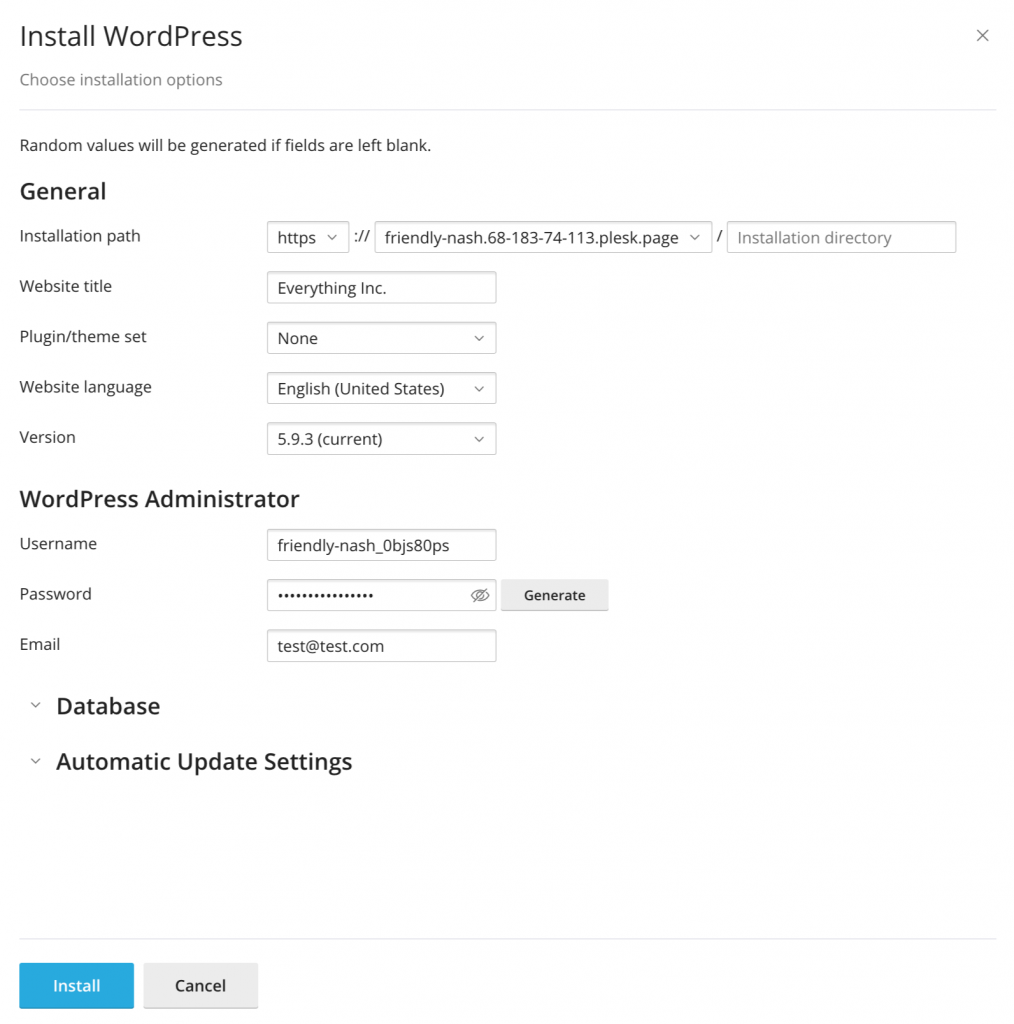
As I chose to use WordPress for my future blog, right after creating hosting for my website Plesk takes me to the WordPress installation screen. What do I need to do next? Click the ‘Install’ button, and that’s it!
No need to scour the interface in search of the desired functionality.
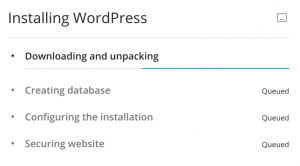
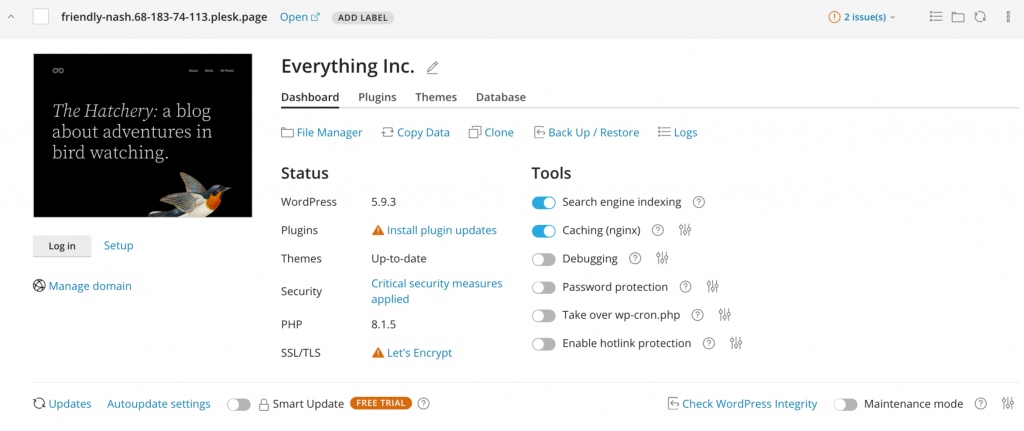
Finally, I am taken straight to the WordPress dashboard. Here I can configure and manage the newly created website (which is already available on the web, mind) to my heart’s content.
And it only took a couple of minutes, from start to finish!
Customizable creation options
Last but not least: every option you see is configurable.
You can leave the desired website creation options and hide the others by modifying the panel.ini configuration file. You can disable all options except one.
For example, if you are a WordPress hoster and only ever create WordPress websites, leave only that option available and hide the rest! In this case, the screen with the different website creation options is skipped and the users are taken directly to creating a new WordPress website. Pretty nifty, right?
What if you don’t need to see these options? Disable them altogether, and the world (or at least your Plesk server) is your oyster.
Here is the list of available panel.ini options to customize the website creation process in Plesk:
Creation option | panel.ini (control option) | Description |
|---|---|---|
Blank website | [domainManagement] applicationWizard.blankSite = false | Disables the blank website (skeleton) creation. |
Deploy using Git | [ext-git]
enableOnSiteApplicationWizard = false | Disables the option to pull the files from a remote Git repository. |
Import website | [ext-site-import] enableOnSiteCreate = false | Disables the option to import a website from another hosting server. |
Joomla! site | [ext-joomla-toolkit] enableOnSiteApplicationWizard = false | Disables the option to create a Joomla! website. |
Laravel site | [ext-laravel]
enableOnSiteApplicationWizard = false | Disables the option to create a Laravel website. |
New ‘Add Domain’ screen | [domainManagement] applicationWizard.enabled = false | Disables the new website creation screen in Plesk. A blank website will always be created by default. |
Upload files | [domainManagement] applicationWizard.uploadFiles = false | Disables the option to upload files using File Manager after website creation. |
WordPress site | [ext-wp-toolkit] enableOnSiteApplicationWizard = false | Disables the option to create a WordPress website. |
TLDR
To sum it all up: when we make changes to Plesk, the goal is always to solve real customers’ pain points.
With the website creation workflow redesign, we brought more clarity, showed all possible options, tools, and ways of creating a new website, and simplified the process as much as possible.
We hope you like it!
And we hope that Plesk helps you spend less time working, so that you may spend more time with your family, engage in a hobby, and relax.
As always, we’d love to hear your feedback! Have you tried the new and improved website creation process? What are your thoughts? Let us know at [email protected] or in the comments section below.


No comment yet, add your voice below!