Once Plesk is installed, you need to do a little bit of setting up
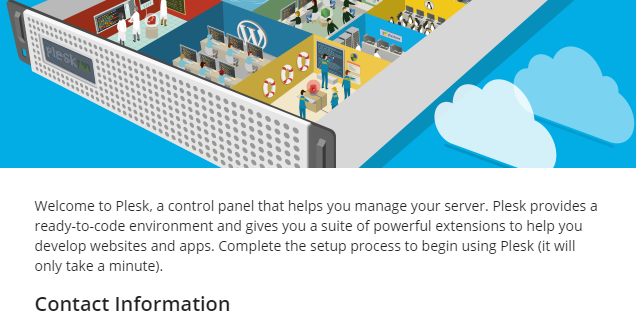
on the Plesk Welcome Screen before you can get to work
(see the screenshot below). The following instruction describes the
process.

To log in to Plesk for the first time:
Note: If you are already on the Plesk Welcome Screen,
skip the first two steps and
go to step 3.
-
Open the following URL in your browser:
https://<SERVER_HOSTNAME_OR_IP_ADDRESS> -
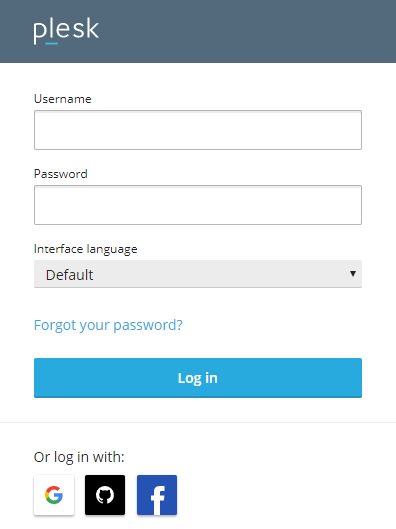
You are on the Plesk login page.
When logging in for the first time, provide the system’s power user name and password:- (On Linux)
rootand your server root password - (On Windows)
Administratorand your server administrator password

- (On Linux)
-
Provide your Plesk administrator email and password in the corresponding fields.
Next time you log in to Plesk, use this password and theadminusername.Note: You can also use your Google, GitHub, or Facebook account to log in to Plesk next time.
To do so, provide your account’s email address.
Then next time you will be logged in to Plesk right away with the linked account.
You can also link an account
at any time later in Plesk My Profile. -
Choose your license:
- If you have already purchased a Plesk license,
paste the activation code you received in the “Proceed with a paid license” field.
If not, you can buy a license in
Plesk Online Store.
You will then receive an email with your activation code. - Before purchasing a paid license,
you can evaluate Plesk for 14 days trying out Plesk Obsidian Web Pro edition.
To do so, choose the “Proceed with a full-featured trial license” option.
- If you have already purchased a Plesk license,
-
Read and confirm the End-User License Agreement
by selecting the corresponding checkbox
and then click Enter Plesk.

Once brief initializing is finished,
Plesk will be completely ready to work.
You can start with
creating your first website.
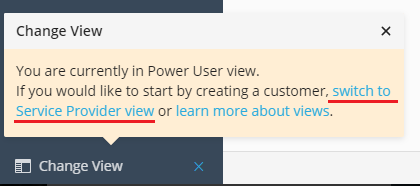
If you are a hosting provider and you want to create a customer first,
switch to Service Provider view.

You can read a brief overview of Plesk views below.